Angelus Hut: The Overnight Hike That’s Actually Worth the Pain
If you’re planning a trip to New Zealand and want one overnight hike that truly feels worth the effort, Angelus Hut needs to be on your list. Mountain views, a frozen lake, the Milky Way so bright it looks fake, honestly the whole thing still feels a bit unreal when I think back on it. If you’re after another South Island hike with a big payoff and way fewer people, Isthmus Peak near Wanaka is another one I’d recommend.
Here’s everything I wish someone had told me before I went, so you can save yourself a bit of guesswork.
The Basics
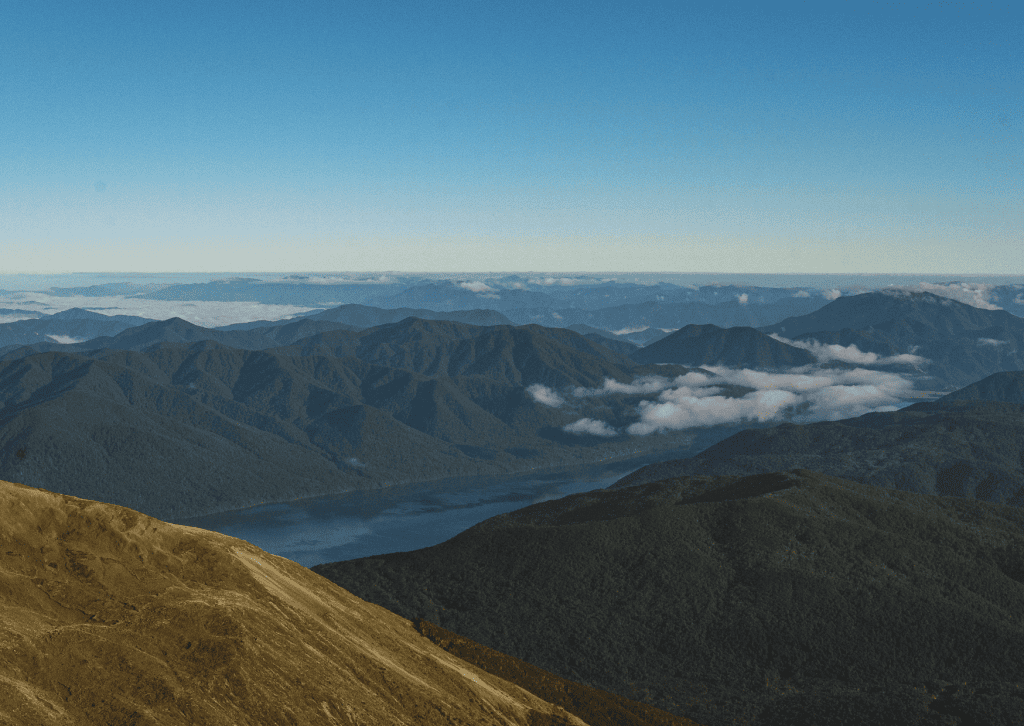
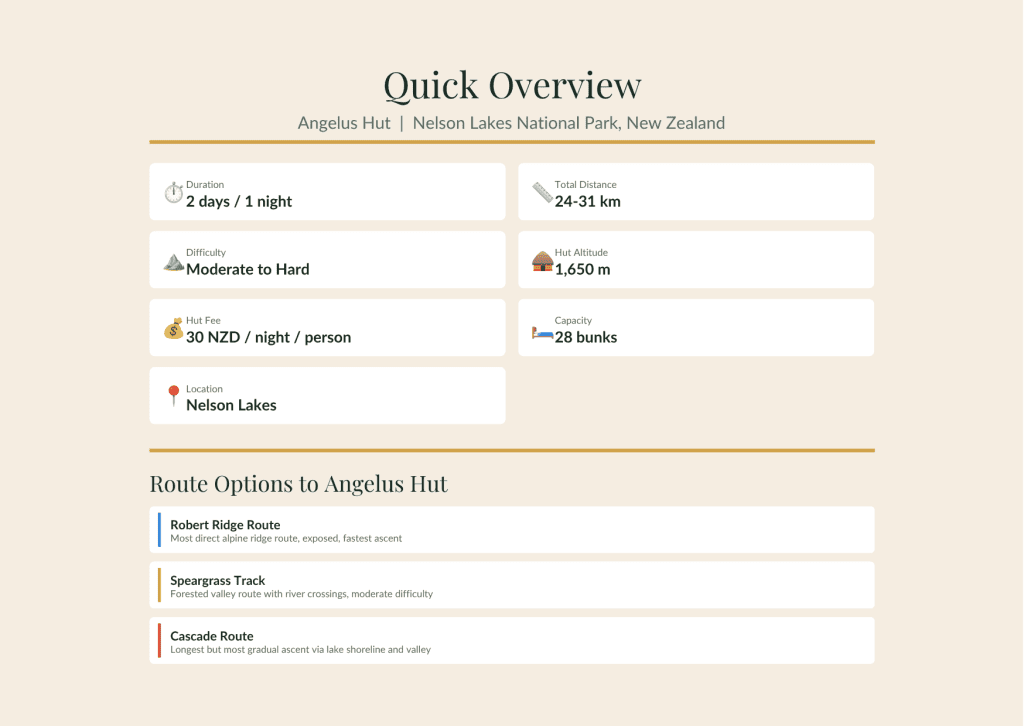
It’s a 2 day, 1 night hike in Nelson Lakes National Park. You’re looking at 24 km return if you take the same route both ways, or 31 km if you come back via the Cascade route instead. The weather up there changes fast, like genuinely fast, so check the forecast carefully before you commit to a day. And book the hut early, especially if you’re going in summer, because spots fill up.
The Three Routes to Angelus Hut
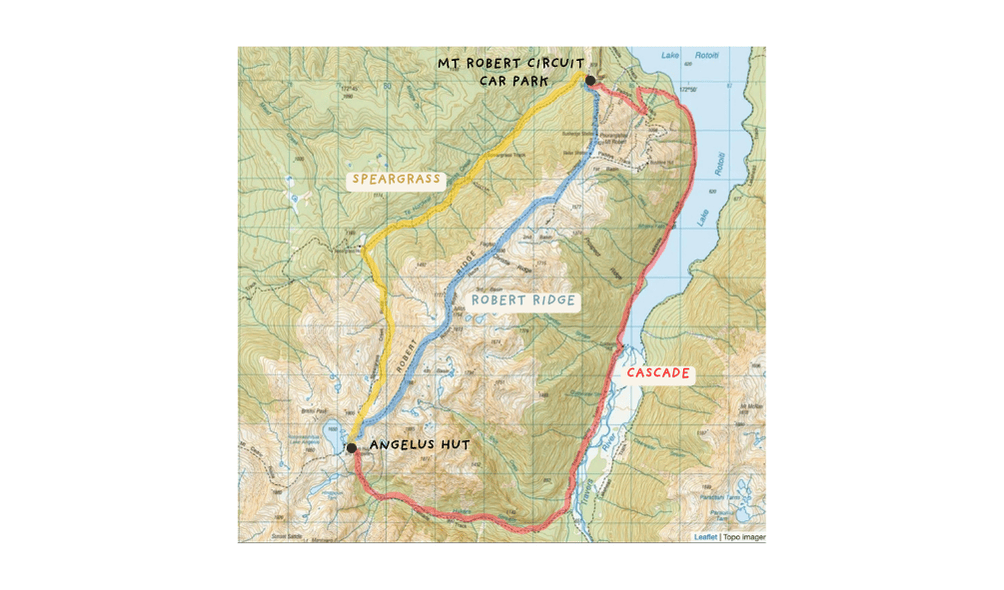
| Route | Distance | Elevation Gain (D+) | DOC Time |
| Robert Ridge Route | ~11.5 km | ~1,470 m | ~6 hours |
| Speargrass Track + Speargrass Creek Route | ~11.2 km | ~940 m | 6–7 hours |
| Cascade Route (via Lakeside Track) | ~17.0 km | ~950 m | 7–8 hours |
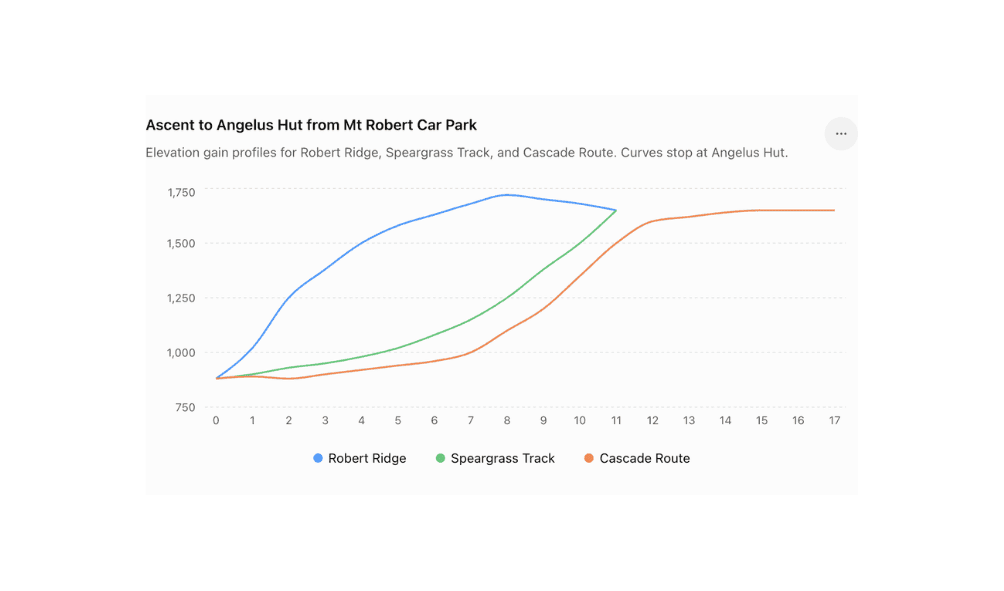
There are three ways up to the hut, and they’re not interchangeable, so it’s worth knowing what you’re signing up for before you pick one.
Robert Ridge Route
Distance: 11.5 km one way
Difficulty: exposed, above the bush line for most of the way
Elevation gain: 1470m
Time: around 5-6 hours
This is the high route, mostly ridgeline the whole way, with huge views the entire time and basically no shelter if the weather turns. It’s the fastest way up, but also the most weather dependent of the three. If the forecast looks even slightly sketchy, this isn’t the one to gamble on.
Speargrass Route
Distance: 11,2 km one way
Difficulty: Moderate
Elevation gain: 940 m
Time: around 6 hours
This one runs mostly through forest before climbing up to the hut, so it’s more sheltered than Robert Ridge if the weather isn’t cooperating. It’s also the one we used on the way back, and I’ll be honest, the last three hours from Speargrass Hut down to the car park feel never ending. You’re in the forest the whole time, climbing up, dropping back down, climbing again, and just when you think you’re close, there’s another rise waiting for you. Beautiful the whole way, but mentally it’s a grind.
Cascade Route
Distance: 17 km one way
Difficulty: Moderate – Hard
Elevation gain: 950 m
Time: 7-8h
The third option, and the one that turns the hike into a 31 km loop instead of a there and back. We didn’t take this one ourselves, so I can’t give you a first hand account, but it’s worth knowing it exists if you want a different route in or out.
Getting There
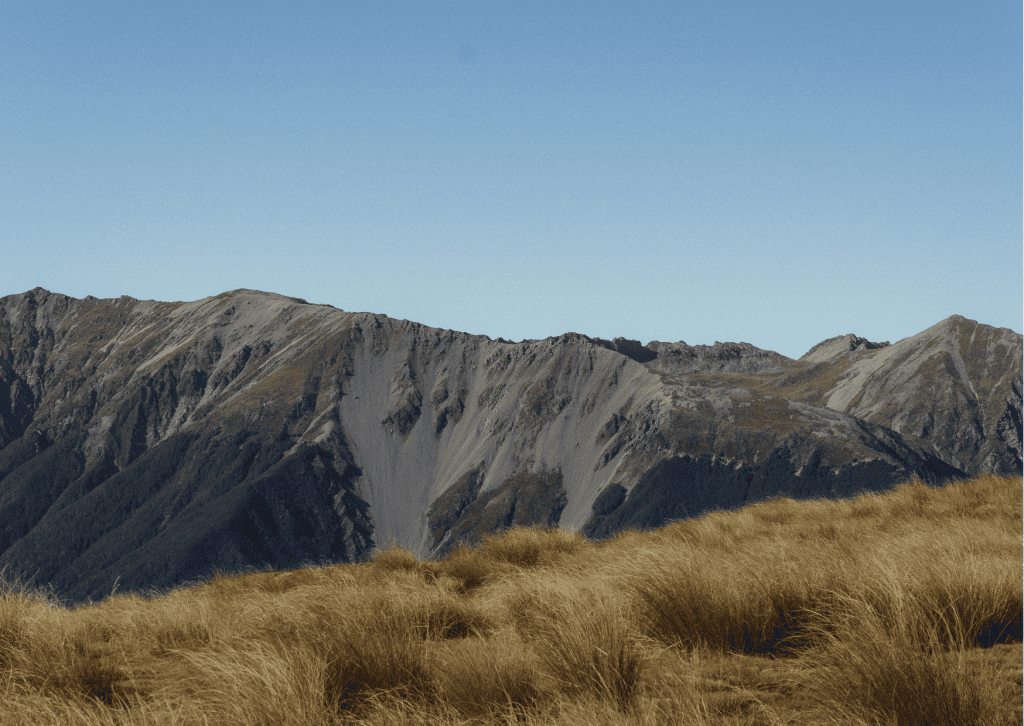
We started at Mt Robert Circuit Car Park and went up via Robert Ridge, then came back down via Speargrass. Robert Ridge took us around 5 hours going up, and Speargrass took us around 6 hours coming back down, so budget a full day either way.
How Hard Is It,
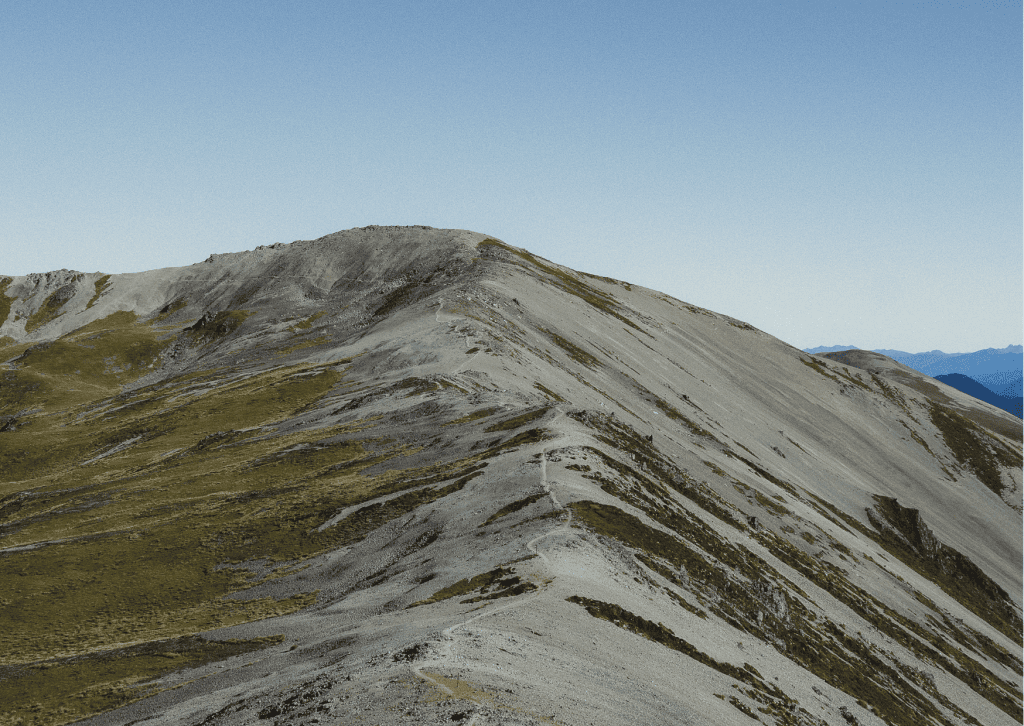
Really Not easy. I’m not going to pretend otherwise. The climb is long, exposed in parts, and your pack gets heavier with every hour, funny how that works. Do not underestimate the weather here. If there’s snow or strong wind, this hike turns into a completely different experience, and not in a fun way. I actually slipped on the way back myself, so trust me when I say this isn’t a casual walk in the park.
Why It’s Worth It Anyway
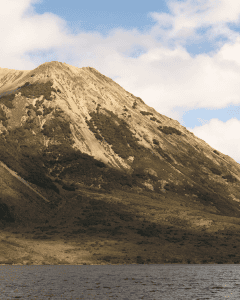
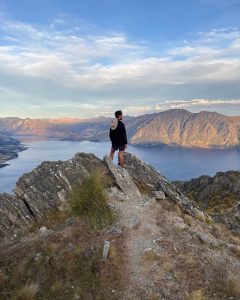
Because once you’re up there, everything feels unreal. Endless ridgelines stretching out in every direction, a frozen alpine lake, that strange and slightly eerie feeling of being completely alone in the mountains. And then one of the clearest night skies I’ve ever seen in my life. That alone makes the whole climb worth it.
What Makes the Hut Special
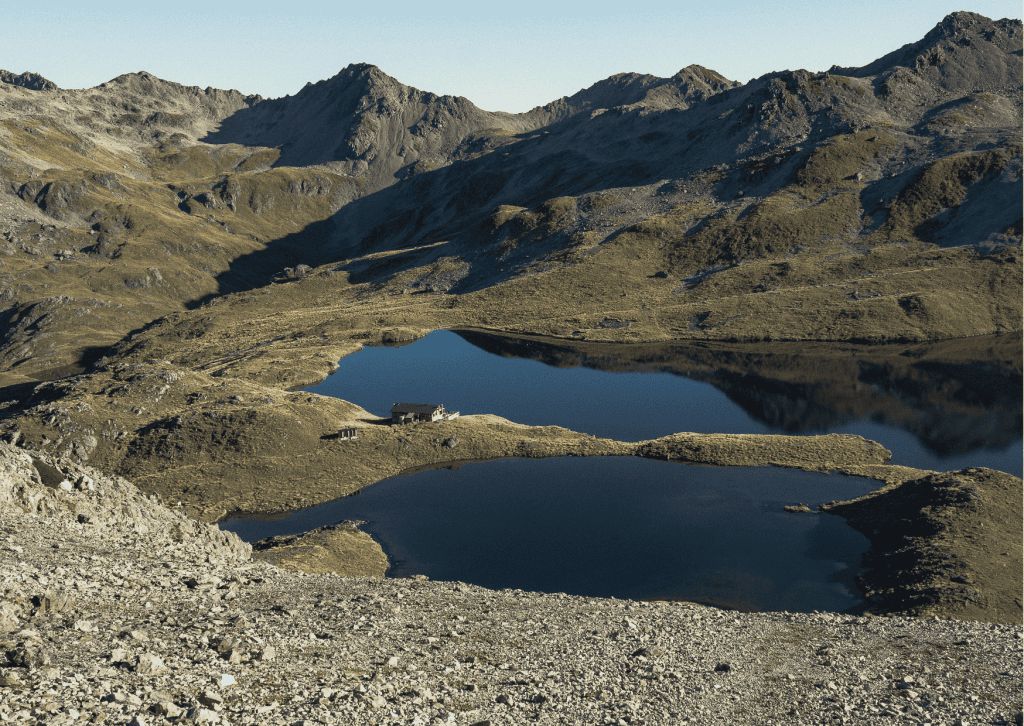
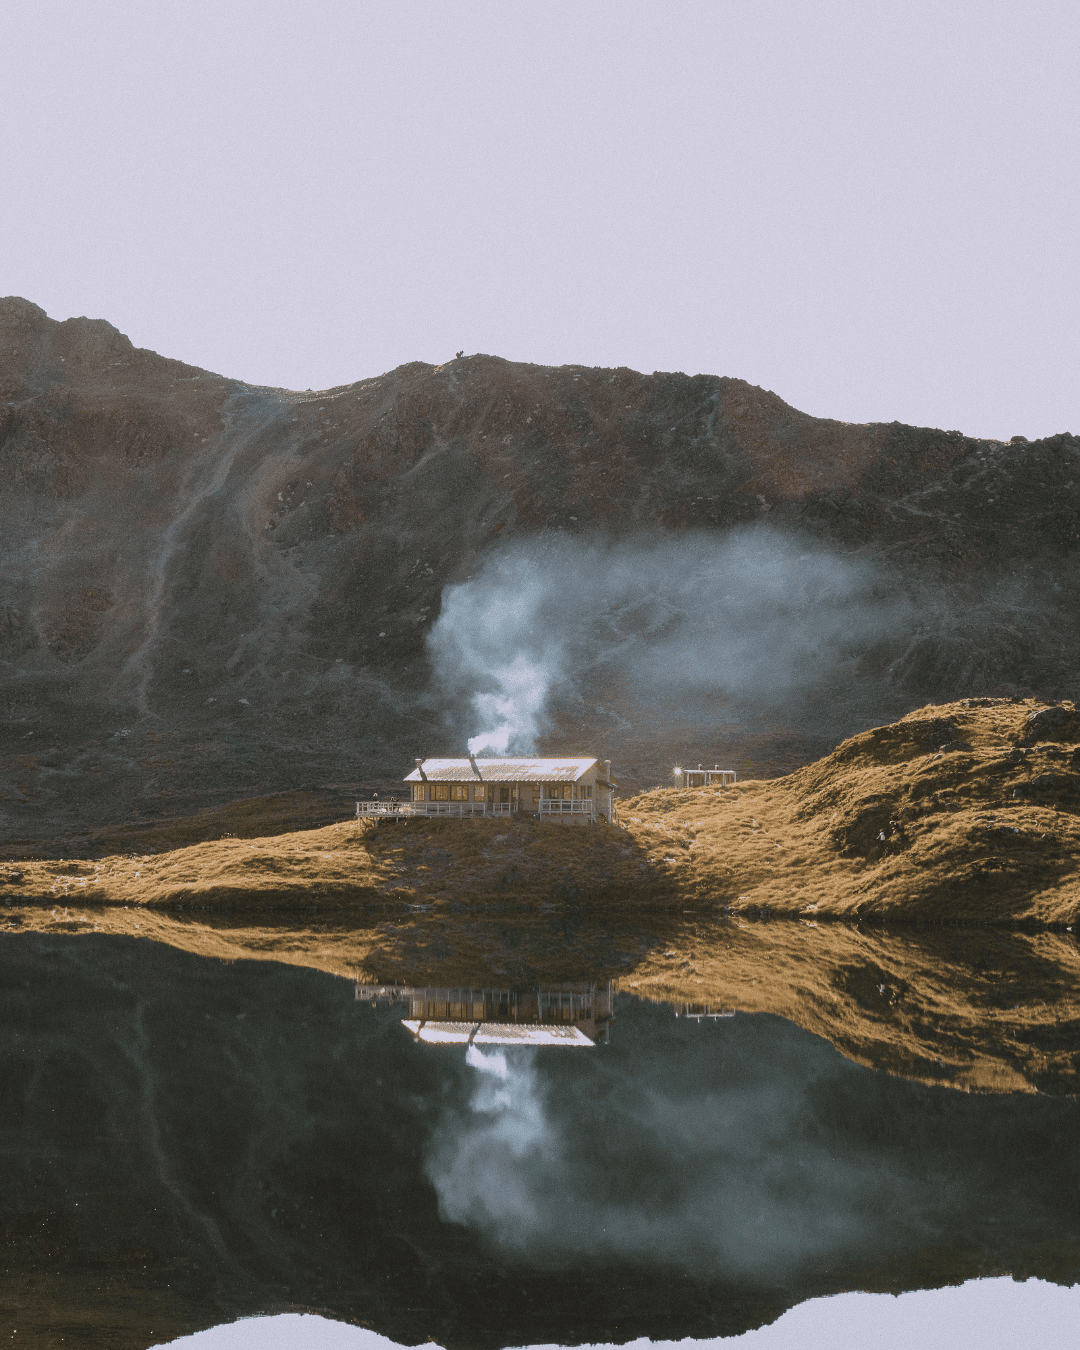
The hut feels genuinely lost in the mountains, in the best way. You arrive and find yourself wondering who on earth thought to build something here. And yes, you can swim in the lake after the hike if you’re brave enough. Just know it was frozen solid the next morning, so plan your dip accordingly.
Good to Know Before You Go
It’s 30 NZD per person, and you’ll want to book in advance, especially in summer or on weekends when it fills up fast. The hut itself has a fireplace, tables, outside toilets, and shared dorm rooms, nothing fancy, but everything you actually need after a long day on the trail.
This was my first ever hut overnight, and honestly, such a good first experience to start with.
After Dark
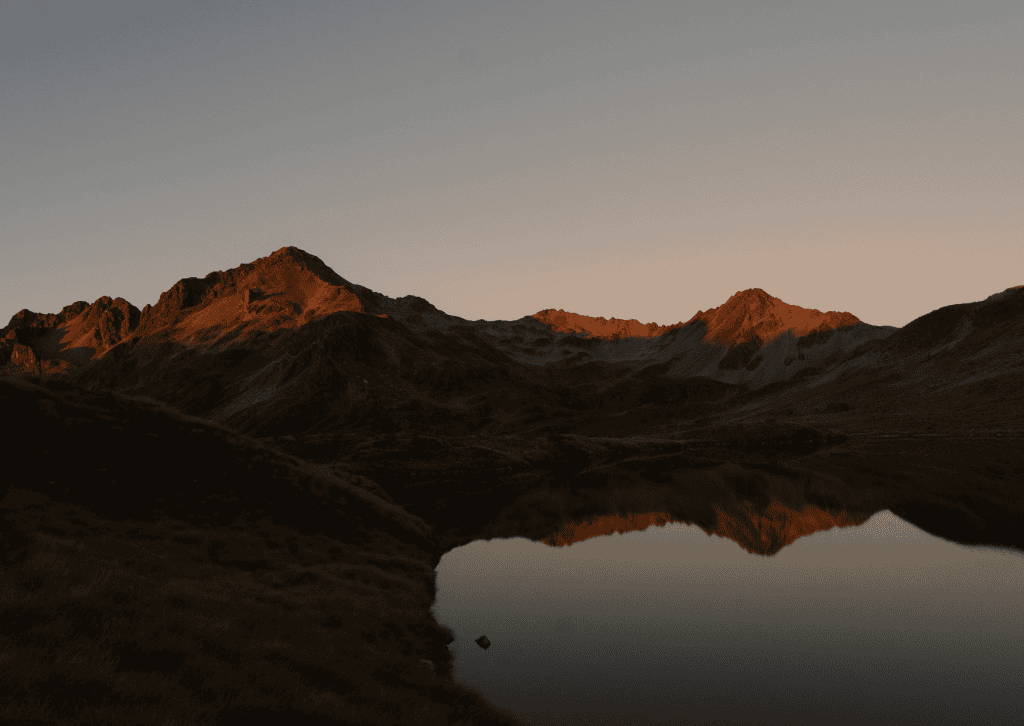
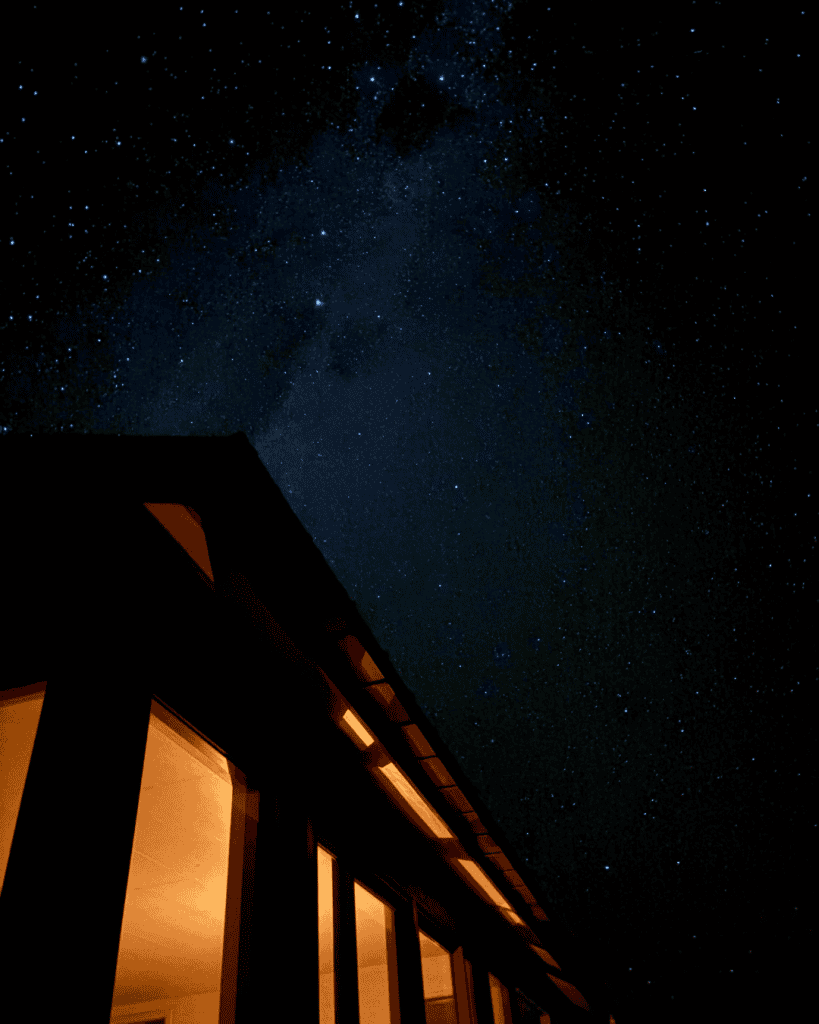
I had never seen a sky like that before. No clouds, no light pollution, just the Milky Way stretched out right above us. It was absolutely freezing, but I’d do the whole hike again just for that one moment. A sky like that deserves more than a phone camera, here’s the gear I had with me that night.
The Way Back
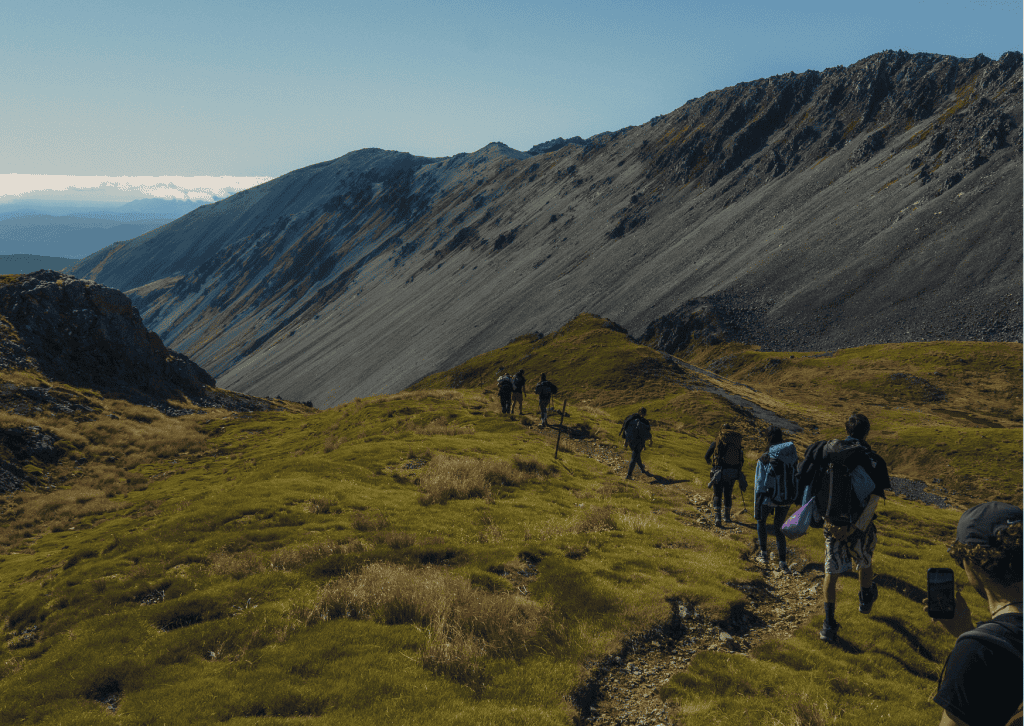
Honestly, this was the hardest part of the entire trip. We were tired, slipped a few times on the way down, and still had hours left to go. You cross the river again and again before you finally reach the car. Beautiful the whole way, but definitely earned by the time you get there.
What to Pack for a Multi Day Hike in New Zealand
A couple of things I always bring when I’m doing an overnight hike and staying at huts in New Zealand.
Always double-check the DOC hut information before your trip, as facilities and requirements can vary depending on the hut and the season.
- 35 liter backpack, big enough for an overnight without making you regret it on the climb up.
Shop the 35L Backpack → - A sleeping bag, since most huts give you a mattress and nothing else.
Shop the Sleeping Bag → - A cooking stove and gas, non negotiable unless you enjoy cold noodles at 1500 meters.
Shop the Gas Stove →
Shop the Gas Canister → - Cooking Essentials Bring a lightweight mug, spork, pocket knife, and small cooking pot. Keeping your cooking setup simple helps save both weight and space.
- Food for two days, Choose lightweight, high-energy foods that are easy to prepare:
• Instant noodles
• Dehydrated meals
• Soup packets
• Oats or cereal bars
• Trail mix and nuts
• Chocolate
• Dried fruit
• Peanut butter wraps
Definitely do not bring raw meat to make an asado on the top of the mountain unlike my Argentinian friend who clearly was really disappointed when he noticed he wasn’t allow to do that - A 3L hydration bladder, While there are water sources you can drink if you boiled it along many New Zealand tracks, carrying sufficient water capacity is important.
Shop the Hydration Bladder → - A solar camping lantern, huts go dark fast and a headlamp alone gets old.
Shop the Solar Lantern → - A first aid kit, A compact first aid kit is something I never leave behind anymore.
Shop the First Aid Kit → - Rechargeable hand warmers, a small luxury that makes a huge difference once the sun goes down.
Shop the Hand Warmers → - A power bank, Phone batteries drain quickly when using GPS, maps, and taking photos.
Shop the Power Bank → - A trash bag for your waste and toilet paper, both things you don’t want to realize you forgot halfway up.
- Insect repellent, the sand flies around here are genuinely vicious, don’t underestimate them.
- Hiking shoes, worth investing in proper ones, your ankles will thank you.
Shop Hiking Shoes → - A fleece, temperatures drop fast once you’re up high.
Shop the Fleece → - A rain jacket, because weather in the New Zealand mountains changes its mind constantly.
Shop the Rain Jacket → - Sunscreen and sunglasses, the New Zealand sun is no joke even when it’s cold out.
Shop the Vichy Capital Soleil SPF50+ →
If you want the full breakdown of everything I carry no matter where I’m headed, from my go to power bank to the bag I never travel without, I’ve got a whole article on my travel essentials where I go through it all in more detail.